


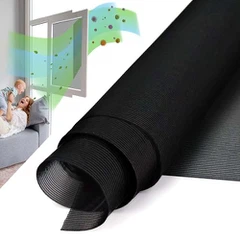
Hey there, pet owners! If you're looking to give your furry or feathery friends a safer and more comfortable living space, installing polyester mesh on their cage is a great idea. As a supplier of high - quality polyester mesh for pets, I'm here to walk you through the whole process step by step.
Why Polyester Mesh?
First off, you might be wondering why polyester mesh is such a good choice for your pet's cage. Well, polyester mesh is super durable. It can withstand a lot of wear and tear, whether it's your pet scratching at it or just the general movement inside the cage. It's also resistant to rust and corrosion, which is crucial since cages can sometimes get a bit damp.
Another big plus is that polyester mesh provides excellent ventilation. Your pet needs fresh air to stay healthy, and this mesh allows for proper air circulation, reducing the chances of stuffy and smelly cages. And let's not forget about visibility. You can easily keep an eye on your pet through the mesh, which is important for their well - being.
What You'll Need
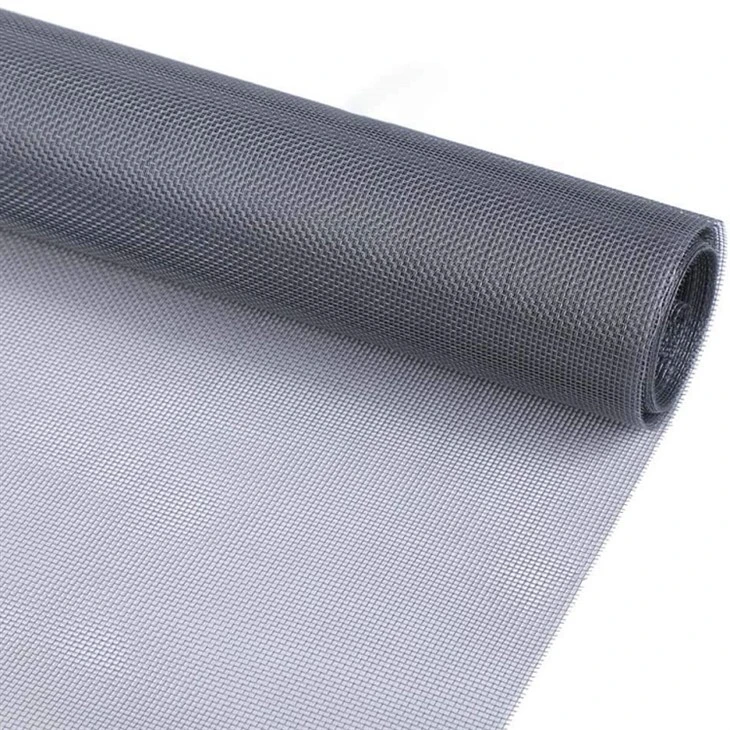
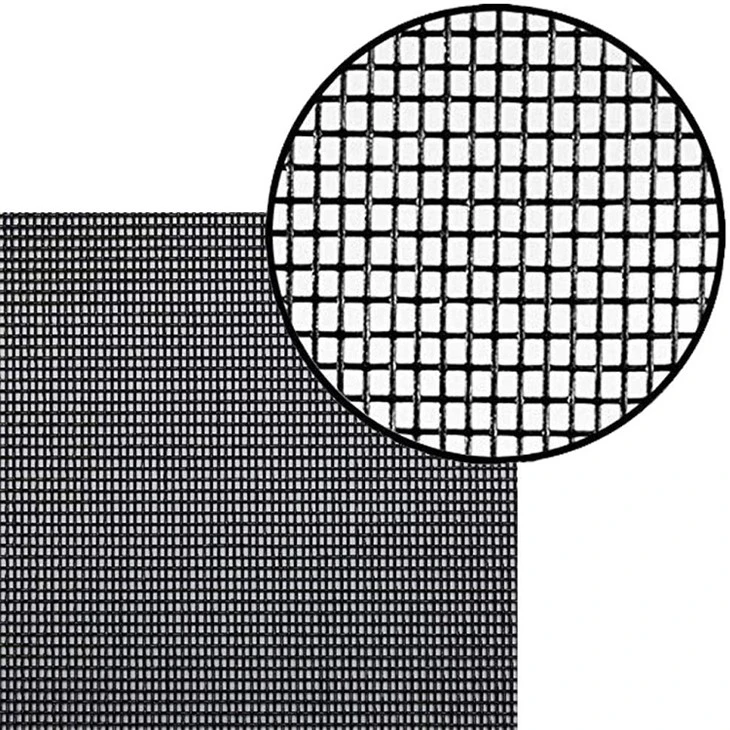
Before you start the installation process, you'll need to gather a few tools and materials. You'll obviously need the polyester mesh. Make sure to measure your cage accurately so you get the right size. You can find different types of mesh on our website, like Windows and Doors Screening, Patio Door Fiberglass Mesh Screen, and Fiberglass Fly Screen Mesh.
In addition to the mesh, you'll need a utility knife to cut the mesh to size. A staple gun or zip ties will be used to attach the mesh to the cage. If you choose a staple gun, make sure you have enough staples. You'll also need a measuring tape to get those accurate measurements and maybe a pair of scissors for any small adjustments.
Step 1: Measure Your Cage
The first step is to measure your cage. Use your measuring tape to get the length and width of each side of the cage where you want to install the mesh. Write down these measurements so you don't forget them. It's a good idea to add an extra inch or two to each measurement. This extra material will give you some wiggle room when you're attaching the mesh and make sure you have enough to cover the entire area.
Step 2: Cut the Mesh
Once you have your measurements, it's time to cut the mesh. Lay the mesh out on a flat surface, preferably a large table or the floor. Use your utility knife to carefully cut the mesh according to the measurements you took. Remember, it's better to cut a little bit larger than you need than to cut it too small. If you make a mistake, don't worry. You can always trim it down later.
Step 3: Attach the Mesh to the Cage
Now comes the fun part - attaching the mesh to the cage. You have two main options here: using a staple gun or zip ties.
Using a Staple Gun
If you're using a staple gun, start at one corner of the cage. Place the mesh over the cage and line it up as best you can. Then, insert a staple into the corner, making sure it goes through the mesh and into the cage frame. Work your way around the cage, placing staples about every few inches. Don't pull the mesh too tight as you go, or it might warp or tear. Just keep it snug enough so it stays in place.
Using Zip Ties
If you prefer using zip ties, it's a bit more flexible. Start by threading a zip tie through the mesh and then through the cage frame. Pull it tight and cut off the excess. Like with the staple gun, work your way around the cage, spacing the zip ties evenly. This method is great if you think you might need to remove or replace the mesh in the future.
Step 4: Trim the Excess
After you've attached the mesh to the cage, you'll probably have some excess material hanging off the edges. Use your utility knife or scissors to trim this excess away. Make sure your cuts are clean and straight for a neat appearance.
Step 5: Check for Gaps
Once you've trimmed the excess, take a close look at the mesh. Check for any gaps or holes where your pet could potentially get out or where debris could get in. If you find any gaps, you can use a small piece of mesh and some more staples or zip ties to patch them up.
Step 6: Secure the Corners
The corners of the mesh are often the weakest points. To make sure they stay secure, you can fold the excess mesh over at the corners and staple or zip - tie it down. This will add an extra layer of protection and prevent the mesh from coming loose.
Tips and Tricks
- If your pet is particularly active or likes to chew on things, you might want to consider using a thicker or more heavy - duty mesh.
- Before you start installing the mesh, clean the cage thoroughly. This will make it easier for the mesh to stick and also keep your pet's living environment clean.
- If you're having trouble getting the mesh to stay in place, you can use some double - sided tape along the edges of the cage as an extra hold.
Conclusion
Installing polyester mesh on your pet's cage is a relatively simple process that can make a big difference in your pet's life. It provides a safer, more comfortable, and better - ventilated living space. As a supplier of polyester mesh for pets, we're here to help you every step of the way. If you have any questions about the installation process or need help choosing the right mesh for your pet's cage, don't hesitate to reach out. We're always happy to assist you with your pet - related needs and look forward to discussing your purchase requirements. Contact us today to start making your pet's home even better!
References
- General knowledge about pet cage accessories and mesh installation.
- Experience in supplying polyester mesh for pets.