


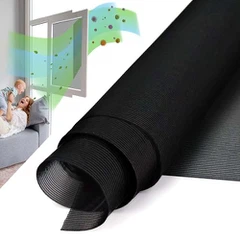
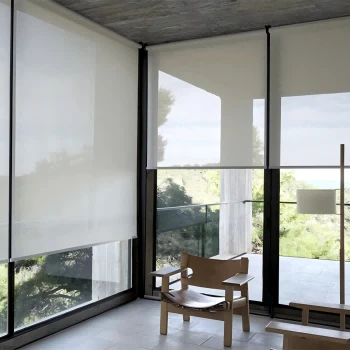
When it comes to enhancing the comfort and functionality of your living or working space, installing a sunshade screen is a practical and stylish solution. As a trusted sunshade screen supplier, I understand the importance of having the right tools for a successful installation. In this blog post, I'll guide you through the essential tools needed to install a sunshade screen, ensuring a smooth and efficient process.
Measuring Tools
Accurate measurements are the foundation of a proper sunshade screen installation. Without precise measurements, the screen may not fit correctly, leading to gaps or an uneven appearance. Here are the measuring tools you'll need:
- Tape Measure: A reliable tape measure is a must-have for any DIY project. Look for a tape measure that is at least 25 feet long and has clear markings. This will allow you to measure the width and height of the window or door where the sunshade screen will be installed.
- Level: A level is used to ensure that the sunshade screen is installed straight and level. This is important for both the appearance and functionality of the screen. A small bubble level is sufficient for most installations.
Cutting Tools
Once you have the measurements, you'll need to cut the sunshade screen to the appropriate size. The type of cutting tool you use will depend on the material of the screen. Here are some common cutting tools:
- Utility Knife: A utility knife is a versatile tool that can be used to cut most types of sunshade screens. Make sure to use a sharp blade and cut slowly and carefully to avoid tearing the screen.
- Scissors: For thinner or more flexible screen materials, scissors may be a better option. Look for a pair of sharp, heavy-duty scissors that can easily cut through the fabric.
- Power Saw: If you're working with a more rigid screen material, such as aluminum or vinyl, a power saw may be necessary. A jigsaw or circular saw can be used to make straight cuts. Make sure to wear appropriate safety gear, such as goggles and a dust mask, when using a power saw.
Mounting Tools
After cutting the sunshade screen to size, you'll need to mount it to the window or door frame. The type of mounting tools you use will depend on the type of sunshade screen and the surface you're mounting it to. Here are some common mounting tools:
- Screwdriver: A screwdriver is used to install screws and other fasteners. Depending on the type of screws you're using, you may need a Phillips head or flathead screwdriver.
- Drill: If you're mounting the sunshade screen to a wooden or metal frame, you may need to drill holes for the screws. A cordless drill is a convenient option for most DIY projects. Make sure to use the appropriate drill bit for the material you're drilling into.
- Anchors: If you're mounting the sunshade screen to a concrete or brick wall, you'll need to use anchors to secure the screws. There are several types of anchors available, including plastic anchors and expansion anchors. Choose the type of anchor that is appropriate for the size and weight of the sunshade screen.
- Adhesive: For some types of sunshade screens, adhesive may be used to mount the screen to the window or door frame. Make sure to choose an adhesive that is specifically designed for use with sunshade screens and the surface you're mounting it to.
Other Tools
In addition to the measuring, cutting, and mounting tools, there are a few other tools that may be helpful during the installation process:
- Pliers: Pliers can be used to bend or cut wires, as well as to hold small objects in place. A pair of needle-nose pliers is a versatile option for most DIY projects.
- Hammer: A hammer may be needed to tap in nails or other fasteners. Make sure to use a hammer that is appropriate for the size and type of fastener you're using.
- Safety Gear: When working with tools, it's important to wear appropriate safety gear, such as goggles, gloves, and a dust mask. This will help protect you from injuries and keep you safe during the installation process.
Conclusion
Installing a sunshade screen is a relatively simple DIY project that can be completed with the right tools and a little bit of patience. By using the measuring, cutting, mounting, and other tools outlined in this blog post, you can ensure a successful installation and enjoy the benefits of a sunshade screen in your home or office.
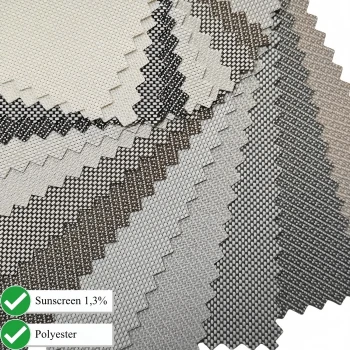
If you're in the market for a high-quality sunshade screen, look no further than our Window Sunscreen, Screen Fabric Roller Blinds, and Window Sunscreen for Blinds. Our products are made from the finest materials and are designed to provide maximum protection from the sun's harmful rays.
If you have any questions or would like to learn more about our sunshade screen products, please don't hesitate to contact us. We're here to help you find the perfect solution for your needs and ensure a smooth and hassle-free installation process.
References
- "DIY Sunshade Screen Installation Guide." Home Improvement Magazine, 2023.
- "Tools for Installing Sunshade Screens." DIY Network, 2023.
- "Sunshade Screen Installation Tips and Tricks." This Old House, 2023.