


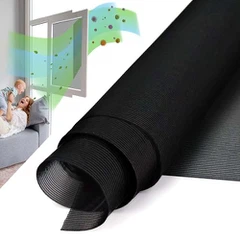
Hey there! As a supplier of polyester shading mesh, I've had my fair share of experiences with different installation scenarios. One of the trickier ones is installing the mesh on a curved surface. But don't worry, I'm here to walk you through the process step by step.
Why Polyester Shading Mesh?
Before we dive into the installation, let's quickly talk about why polyester shading mesh is a great choice. Polyester is known for its durability, resistance to UV rays, and affordability. It can effectively block out sunlight, reduce heat, and protect your indoor space from harmful UV radiation. Whether you're looking to shade a patio, a greenhouse, or a curved window, polyester shading mesh is a versatile solution.
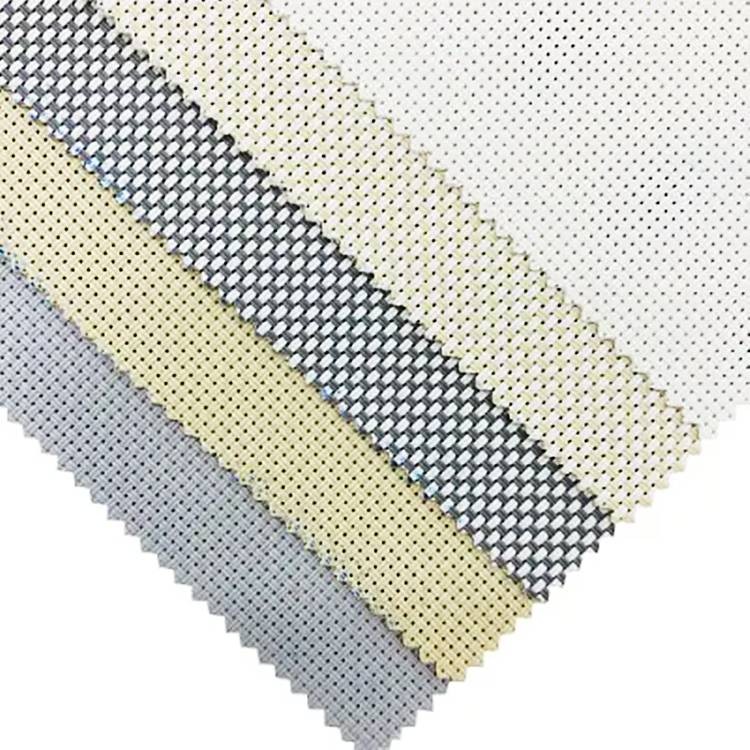
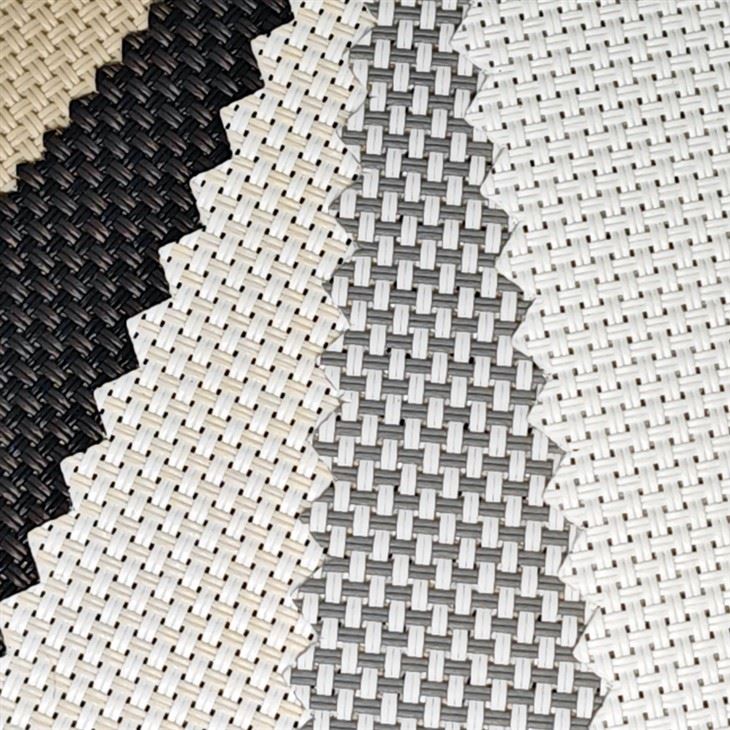
We offer a variety of products, such as the 520 GSM Openness 5% Roller Blind Fabric, Window Sunscreen for Blinds, and Solar Screen Mesh. These products come in different sizes, colors, and openness percentages to meet your specific needs.
Preparing for Installation
The first step in installing polyester shading mesh on a curved surface is to prepare the area. Here's what you need to do:
- Measure the Surface: Use a flexible measuring tape to measure the length, width, and curvature of the surface. Make sure to take accurate measurements, as this will determine the size of the mesh you need.
- Clean the Surface: Remove any dirt, dust, or debris from the surface. This will ensure that the mesh adheres properly and lasts longer.
- Gather Your Tools: You'll need a few tools for the installation, including a utility knife, a staple gun, a hammer, nails, and a ladder (if necessary). Make sure you have everything you need before you start.
Cutting the Mesh
Once you have the measurements, it's time to cut the mesh to size. Here's how:
- Lay the Mesh on a Flat Surface: Spread the mesh out on a clean, flat surface. Make sure it's smooth and free of wrinkles.
- Mark the Cutting Lines: Use a marker or a piece of chalk to mark the cutting lines on the mesh. Make sure to leave a little extra material around the edges for trimming.
- Cut the Mesh: Use a utility knife to cut the mesh along the marked lines. Be careful not to cut yourself, and make sure the cuts are straight and clean.
Installing the Mesh
Now that you have the mesh cut to size, it's time to install it on the curved surface. Here's how:
- Start at One End: Begin at one end of the curved surface and secure the mesh with nails or staples. Make sure the mesh is taut and free of wrinkles.
- Work Your Way Around: As you move around the curve, use a staple gun or a hammer and nails to secure the mesh at regular intervals. Make sure to keep the mesh taut and smooth as you go.
- Trim the Edges: Once you've secured the mesh around the entire curve, use a utility knife to trim the excess material from the edges. Make sure the edges are clean and straight.
Finishing Touches
After you've installed the mesh, there are a few finishing touches you can add to make it look even better. Here's what you can do:
- Seal the Edges: Use a sealant or a weatherproof tape to seal the edges of the mesh. This will prevent water and dirt from getting under the mesh and causing damage.
- Add a Trim: You can add a decorative trim around the edges of the mesh to give it a more finished look. There are many different types of trim available, so choose one that matches the style of your home or outdoor space.
- Test the Mesh: Once you've finished installing the mesh, test it to make sure it's working properly. Open and close any windows or doors that the mesh covers, and make sure the mesh doesn't interfere with their operation.
Tips and Tricks
Here are a few tips and tricks to help you install polyester shading mesh on a curved surface more easily:
- Use a Helper: Installing mesh on a curved surface can be tricky, so it's a good idea to have a helper to hold the mesh in place while you secure it.
- Work Slowly and Carefully: Take your time and work slowly and carefully to ensure that the mesh is installed correctly. Rushing through the installation can lead to mistakes and a less-than-perfect result.
- Choose the Right Mesh: Make sure you choose a mesh that is suitable for the size and curvature of the surface you're covering. A mesh that is too small or too large may not fit properly or may not provide adequate shading.
Conclusion
Installing polyester shading mesh on a curved surface may seem like a daunting task, but with the right tools and techniques, it can be done easily and effectively. By following the steps outlined in this blog post, you can install the mesh yourself and enjoy the benefits of reduced heat, increased privacy, and protection from UV rays.
If you have any questions or need further assistance with your installation, please don't hesitate to contact us. We're here to help you find the right product for your needs and ensure that your installation is a success. Whether you're a homeowner, a contractor, or a business owner, we have the expertise and the products to meet your shading needs. So why wait? Contact us today to learn more about our polyester shading mesh products and to get started on your installation project.
References
- "Polyester Shading Mesh Installation Guide," Manufacturer's Manual
- "Tips for Installing Shading Mesh on Curved Surfaces," DIY Home Improvement Magazine