


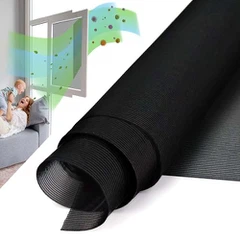
Installing fiberglass insect mesh on a curved window can be a challenging yet rewarding project. As a trusted fiberglass insect mesh supplier, I've witnessed firsthand the benefits of having a well - installed mesh to keep insects out while allowing fresh air to circulate. In this blog, I'll guide you through the step - by - step process of installing fiberglass insect mesh on a curved window.
Why Choose Fiberglass Insect Mesh?
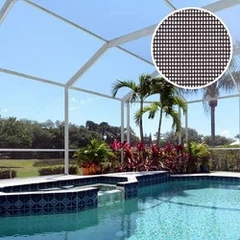
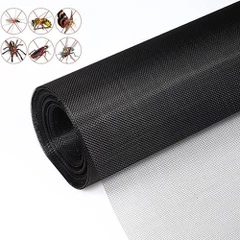
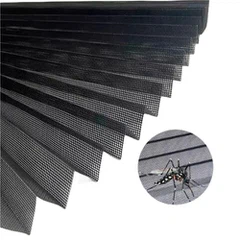
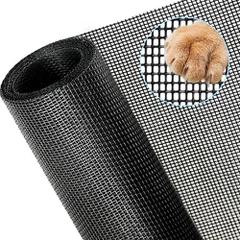
Fiberglass insect mesh is a popular choice for many reasons. It is durable, resistant to corrosion, and provides excellent visibility. Unlike some other materials, fiberglass mesh doesn't rust or sag over time. It also offers a high level of protection against insects of all sizes. If you're interested in our fiberglass insect mesh products, you can check out Fiberglass Insect Mesh. We also offer Fiberglass Mosquito Net On Aluminium Frame, which combines the strength of an aluminum frame with the functionality of fiberglass mesh. Another option is our Heavy Duty Polyester Mesh, which is ideal for areas with high - traffic or harsh environmental conditions.
Tools and Materials You'll Need
Before you start the installation process, gather the following tools and materials:
- Fiberglass insect mesh: Make sure to measure your curved window accurately to determine the amount of mesh you need.
- Utility knife: For cutting the mesh to size.
- Staple gun: To secure the mesh to the window frame.
- Measuring tape: For precise measurements.
- Safety glasses: To protect your eyes during the installation.
- Gloves: To prevent cuts from the sharp edges of the mesh.
Step 1: Measure the Curved Window
Measuring a curved window accurately is crucial. Start by measuring the length and height of the window at multiple points along the curve. Record these measurements and use them to create a template. You can use a flexible measuring tape or a piece of string to follow the curve of the window. Once you have the measurements, transfer them to a piece of cardboard or paper to create a template. This template will help you cut the fiberglass mesh to the correct shape.
Step 2: Cut the Fiberglass Mesh
Lay the fiberglass mesh on a flat surface and place the template on top of it. Use a utility knife to carefully cut the mesh along the outline of the template. Make sure to cut the mesh slightly larger than the template to allow for some overlap. This overlap will ensure that the mesh covers the entire window and provides a tight seal.
Step 3: Prepare the Window Frame
Clean the window frame thoroughly to remove any dirt, dust, or debris. This will ensure that the mesh adheres properly to the frame. If there are any rough edges or splinters on the frame, sand them down to create a smooth surface.
Step 4: Install the Fiberglass Mesh
Starting at one end of the window frame, use a staple gun to secure the mesh to the frame. Place the staples about 1 - 2 inches apart along the edge of the frame. As you work your way around the curve, stretch the mesh gently to ensure a smooth fit. Be careful not to stretch the mesh too tightly, as this can cause it to tear. If you encounter any wrinkles or folds in the mesh, smooth them out before stapling the next section.

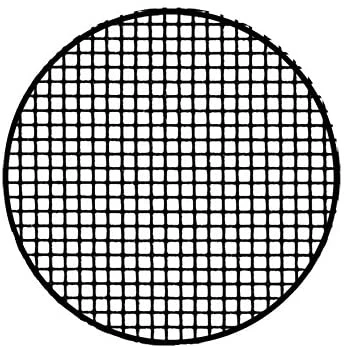
Step 5: Trim the Excess Mesh
Once the mesh is fully installed, use a utility knife to trim the excess mesh along the edges of the frame. Make sure to cut the mesh flush with the frame for a clean and professional look.
Step 6: Inspect the Installation
After trimming the excess mesh, inspect the installation to ensure that there are no gaps or loose areas. Check the staples to make sure they are secure and that the mesh is tightly attached to the frame. If you find any areas that need adjustment, use the staple gun to re - secure the mesh.
Tips for a Successful Installation
- Work slowly and carefully, especially when cutting the mesh and following the curve of the window.
- If the curve of the window is very sharp, you may need to make small cuts in the mesh to help it conform to the shape.
- Consider using a rubber mallet to gently tap the staples into the frame for a more secure fit.
- If you're not confident in your ability to install the mesh yourself, you can always hire a professional installer.
Conclusion
Installing fiberglass insect mesh on a curved window may seem daunting at first, but with the right tools, materials, and techniques, it can be a manageable project. As a fiberglass insect mesh supplier, I'm committed to providing high - quality products and helpful advice to ensure your installation is a success. If you have any questions or need further assistance, please don't hesitate to contact us. We're here to help you choose the right product for your needs and guide you through the installation process. Whether you're looking for a simple solution to keep insects out of your home or a more durable option for a commercial building, we have the products and expertise to meet your requirements. Contact us today to discuss your project and start enjoying the benefits of a well - installed fiberglass insect mesh.
References
- "Home Improvement Handbook" - A comprehensive guide to various home installation projects.
- "Window Installation Best Practices" - A resource that provides tips and techniques for installing different types of window coverings.